A wood-burning stove can reach temperatures of at least 700 degrees Fahrenheit in many situations. But a kiln can get even hotter, as it can produce temperatures of at least 1,800 degrees Fahrenheit.
That disparity in temperatures might suggest that you cannot use a wood-burning stove as a kiln for pottery.
But it is possible to use such a stove when you bake or fire pottery. You can fire your pottery if you prepare everything the right way.
The results you attain might be limited versus what you can get from a traditional kiln, but the effort will be worthwhile and effective if you use the right points for heating your work.
Table of Contents
Ensure Everything Is Dry First
The first part of using a wood-burning stove as a kiln entails keeping your clay material dry. You can air-dry your finished pottery project for at least 24 hours before adding it to your stove.
You must remove as much moisture as possible to allow the heating process to work well. Any bits of water that stick around will heat up inside a stove and could damage the inside.
The finished pottery may also feature a slightly misshapen look if you aren’t careful enough in getting it all ready.
Gradual Heat Is Necessary
You can heat your pottery in a stove if you gradually add heat. You can produce a new fire around your pottery to allow the clay to get used to the intense heat.
The clay gradually warms, as sudden temperature changes could damage the pottery if you are not cautious.
Add Wood to the Fire
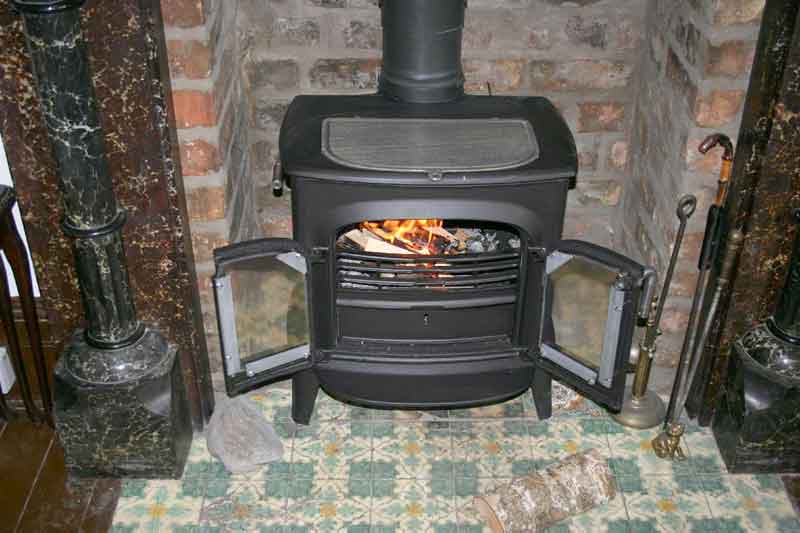
You’ll need to add wood to your wood-burning stove to keep the fire going strong. You can use a wood stove thermometer to see the temperature on the inside and then add new heat based on what’s happening.
A thermometer can go on a chimney or other close space that can consistently monitor the temperature, helping you see what’s happening in real-time.
Keep the temperature as consistent as possible. Watch for how you add wood and that you don’t touch the pottery while loading the stove.
Review the Clay Cone Number
Keep the temperature around the recommended level for your clay cone number while heating it in a wood-burning stove.
The cone is the ceramic piece you use to help you fire the pottery to the appropriate temperature. You can use your cone to measure your pottery and to ensure you can successfully heat it to the right level. The cone will progressively melt after a while.
A cone would typically signal to a kiln when it should shut off, as the kiln will stop working when it no longer identifies the cone. But this feature won’t be present in your wood-burning stove.
You’ll need to watch how your cone heats up and how it changes while being exposed to direct heat.
Clay cones come in different forms:
- 022: Very low. This cone is for overglazed pottery pieces.
- 012 to 02: Low. The standard is for earthenware clay.
- 01 to 3: Low to middle. This option is a basic choice for most applications.
- 4 to 7: Middle. The oxidation process interacts with the glaze to produce a bright color.
- 8 to 14: High. Oxygen will not interact with the glaze at this point.
You will need a higher temperature when you have a high-level clay cone. You’ll need to maintain the temperature for as long as possible regardless of the model you use.
You would have an easier time using a very low-range clay cone when using a wood-burning stove. A very low cone is for firings from 1,100 to 1,500 degrees Fahrenheit. A traditional kiln would best serve anything higher than this level.
Allow For Enough Time to Fire The Clay at The Proper Temperature
An essential part of handling your pottery is to give it enough time in your stove. You must give your clay enough time to be fired at the proper temperature.
Failing to fire it long enough can result in the clay not undergoing the chemical and physical changes necessary to stay consistent.
The timeframe for heating your pottery will vary surrounding how thick the application is. It can take about 30 to 90 minutes to heat something.
How Will the End Clay Color Look?
Your finished project will have a smooth bisque look. The tone has a natural earth look that fits well for many occasions.
You may notice some spots or color smears around the pottery. The flames will be mostly uneven, thus creating such effects. The natural design will add a brilliant touch to your finished project.
You could add tin foil around your pottery project before you start if you want to produce a more even color. The foil will allow the heat to move throughout the pottery piece, adding a better touch.
There’s always the option to add small carvings or etching to your pottery after you finish. You’ll need to let the pottery cool off before you can apply anything new to the surface. It could take about the same time as it takes for you to heat the pottery as it would for you to cool the piece.
Safety Notes About Using Your Stove
You can use your wood-burning stove as a kiln for your pottery, but you should watch what you do when making it work. Always be sure you use your stove safely:
- Keep the stove working in a clean environment where the air can circulate well. Avoid enclosed spaces where smoke may develop and crowd in a space.
- Be sure the stove is clean before you start working. Excess ash or residue can become a fire hazard.
- Watch for the stove thermometer readout changes. The temperature shifts should be consistent and easy to monitor.
Your stove will work well for your pottery plans if you manage it right. Be sure you see what you do with your stove and that you have a smart plan in mind for how you’re going to handle your pottery for any intention. You’ll have an easier time heating your pottery in a stove when you work right.
