You don’t need to attach yarn to rejoin it. Simply leave a long enough tail to weave in later and begin knitting. The first stitch may appear loose, but it will not pull out, and after a few more rows, it will be anchored in place. To tighten it up, simply pull on the tail. Then you go back later and tightly weave that end into the piece’s fabric.
At the bound-off sts, you can fasten off the one st that is still on the needle. Cut the yarn, leaving about a 6-inch tail, and gently pull it through the loop produced by the last stitch.
To connect or attach new yarn, take the end of the yarn from the ball and hold it in place, leaving about a 6-inch tail, then begin knitting. The initial stitch will be a touch loose, but you may tighten it up by pulling lightly on the tail end. When you weave it in later, you’ll secure the end, which will eliminate any looseness.
Take your old and new yarn strands and bind them together in a knot. A knot tends to show up as a lump in your finished piece, it can make its way through to the front of your work and impair the beauty of your final piece, you could pull the threads encircling it off the shape, as well as it could come unravelled and undone with your piece that’s finished.
Table of Contents
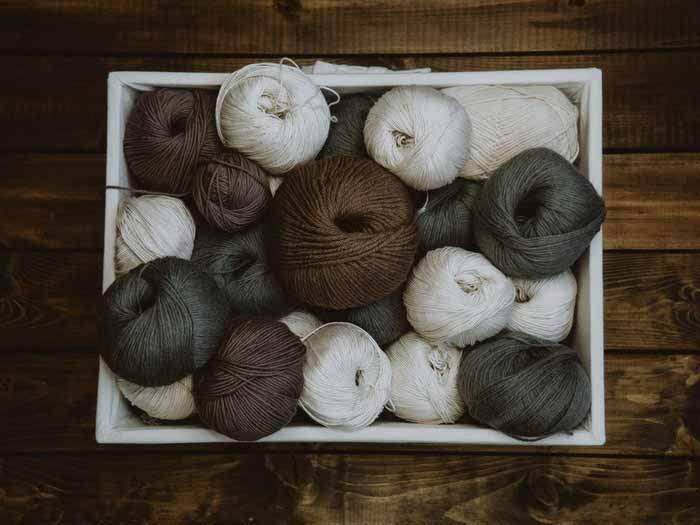
How To Rejoin Yarn And Pick Up Stitches
Make a magic knot. A magic knot is more durable than a conventional knot, and it is less likely to come undone and unravel your work. It won’t work for every project. In a stocking stitch, which works more towards its way towards the front, but it can help with garter stitch.
- Step 1 – Layout your project in front of you, with the end of the old yarn tail pointing in your direction. Then, with the tail pointing away from you, arrange the tail end of your new ball parallel to the old yarn. The tail ends of the yarn should overlap by about 10 cm.
- Step 2 – Loop the old yarn beneath the new yarn in a number “4” pattern.
- Step 3 – Return the old yarn to the left, passing it over the new yarn and back over itself.
- Step 4 – Tighten both ends of the old yarn by looping it under itself. Instead of being tied with the new yarn, the old yarn will be knotted around it.
- Step 5 – Using your new yarn tail, loop it under the old yarn in the shape of a “P.”
- Step 6 – Return the new yarn to the right, passing it over the old yarn and over itself.
- Step 7 – The fresh yarn should be looped around itself and pulled tightly on both ends. Two knots will be spaced about 5cm apart.
- Step 8 – By combining these two knots, you’ll construct a double knot that’s nearly tough to undo. To slip the knots together, pull on the long ends of both the new and old yarn. The knot will be stronger the harder you tug when they connect. Pull the long and short ends of the same yarn to tighten each separate knot once more.
- Step 9 – Trim the yarn’s short ends near the knot. With this knot, there is no need to weave anything in.
How To Join Yarn Without a Knot?
There are three different techniques to link a fresh yarn without tying a knot.
The following methods can be used:
- When you’ve used up all of your yarn and want to start over with a new ball of the same colour
- To shift to a different colour in accordance with the pattern (but the colour change will not be as clean as with this colour change approach)
- When crafting a patchwork project, to add fresh yarns-great for leftovers!
- Russian Join
- Before you start crocheting, use the Russian Join to join all of your threads.
How to Russian join your yarn?
If you have a lot of little yarn pieces, this technique is ideal. You can join them ahead of time and then just crochet away! When you put all of the little pieces together, you get a fantastic magic ball!
- Join the Double Up’ group – When I crochet, I normally utilise this approach. Crochet a stitch or two with both your old and new yarns, then drop the old yarn and proceed with the new yarn alone. It’s extremely safe and speedy.
- Link without using a knot – The disadvantage is that those few stitches are a little thicker (due to the two yarns), but that isn’t a big deal for you.
- Spliced Spit – This is the cleanest method, but it only works with wool yarns. Yes, you do use spit! You can do this ahead of time or while you’re crocheting.
How To Rejoin Yarn To Stitches On Holder?
- Return from the holders, all the stitches to a suitable sized needle (when using a straight needle that is single-pointed, ensure the pointy tip is towards the side from which you wish to restart the yarn).
- Take the yarn’s end from the skein or ball. Hold the free end of the yarn in your curled pinky, allowing about a palm’s width between where you’re holding it and where it truly ends. To maintain tension, wrap the working end of the yarn (the end still attached to the ball) around your index finger as usual. (The free end should dangle from your hand’s outside edge.)
- In your right hand, hold the second needle. Knit the first few stitches in pattern, clutching the free end of the yarn in your pinky and double-checking that the section of the yarn you’re working with is the end that comes out of the yarn ball.
- Drop the free end once you’ve completed enough stitches to think the yarn will stay. Continue to knit.
- Pull-on the free end of the next few rows to tighten the initial few stitches as needed.
- When you get around to it, weave toward the end.
For most joins, it’s best to swap a ball near the end of a row. If the edge is going to be sewn up, the loose ends can be hidden in the seam, and if they’re exposed, like in our scarves or blankets, it’s less noticeable than replacing a ball mid-row.
